


Santa Clause deserves the best, and the best is just a simple scroll away…
Baking is a quintessential Christmas activity, especially this year as our social gatherings both indoor and outdoor have come to a halt.
We don’t know about you, but when we think of holiday baking, we immediately think of cookies! These festive and fun recipes sure have me drooling all over my keyboard, but they’re sure to leave Santa very satisfied!

Christmas Shortbread Bites (original recipe here)
Ingredients:
- 3 sticks butter softened
- 1 cup sugar
- 1 teaspoon vanilla extract
- 3 ½ cups all-purpose flour
- ¼ teaspoon salt
- 3 tablespoons sprinkles
Steps:
-
Mix softened butter with sugar and vanilla.
-
Mix flour and salt.
-
Mix butter mixture into flour mixture, until a crumbly dough is formed. Add sprinkles and mix.
-
Dump cookie dough out onto parchment paper or foil, and form into a firmly packed rectangle shape that is 1 inch in height.
-
Chill dough in refrigerator for at least 30 minutes.
-
Preheat oven to 350°F.
-
After dough has chilled, cut dough into 1 inch slices, and then into 1 inch cubes. Place cubes onto a silicone mat lined baking pan or a baking pan sprayed with cooking spray.
-
Bake for 20 minutes or until slightly golden brown on the bottom edges.
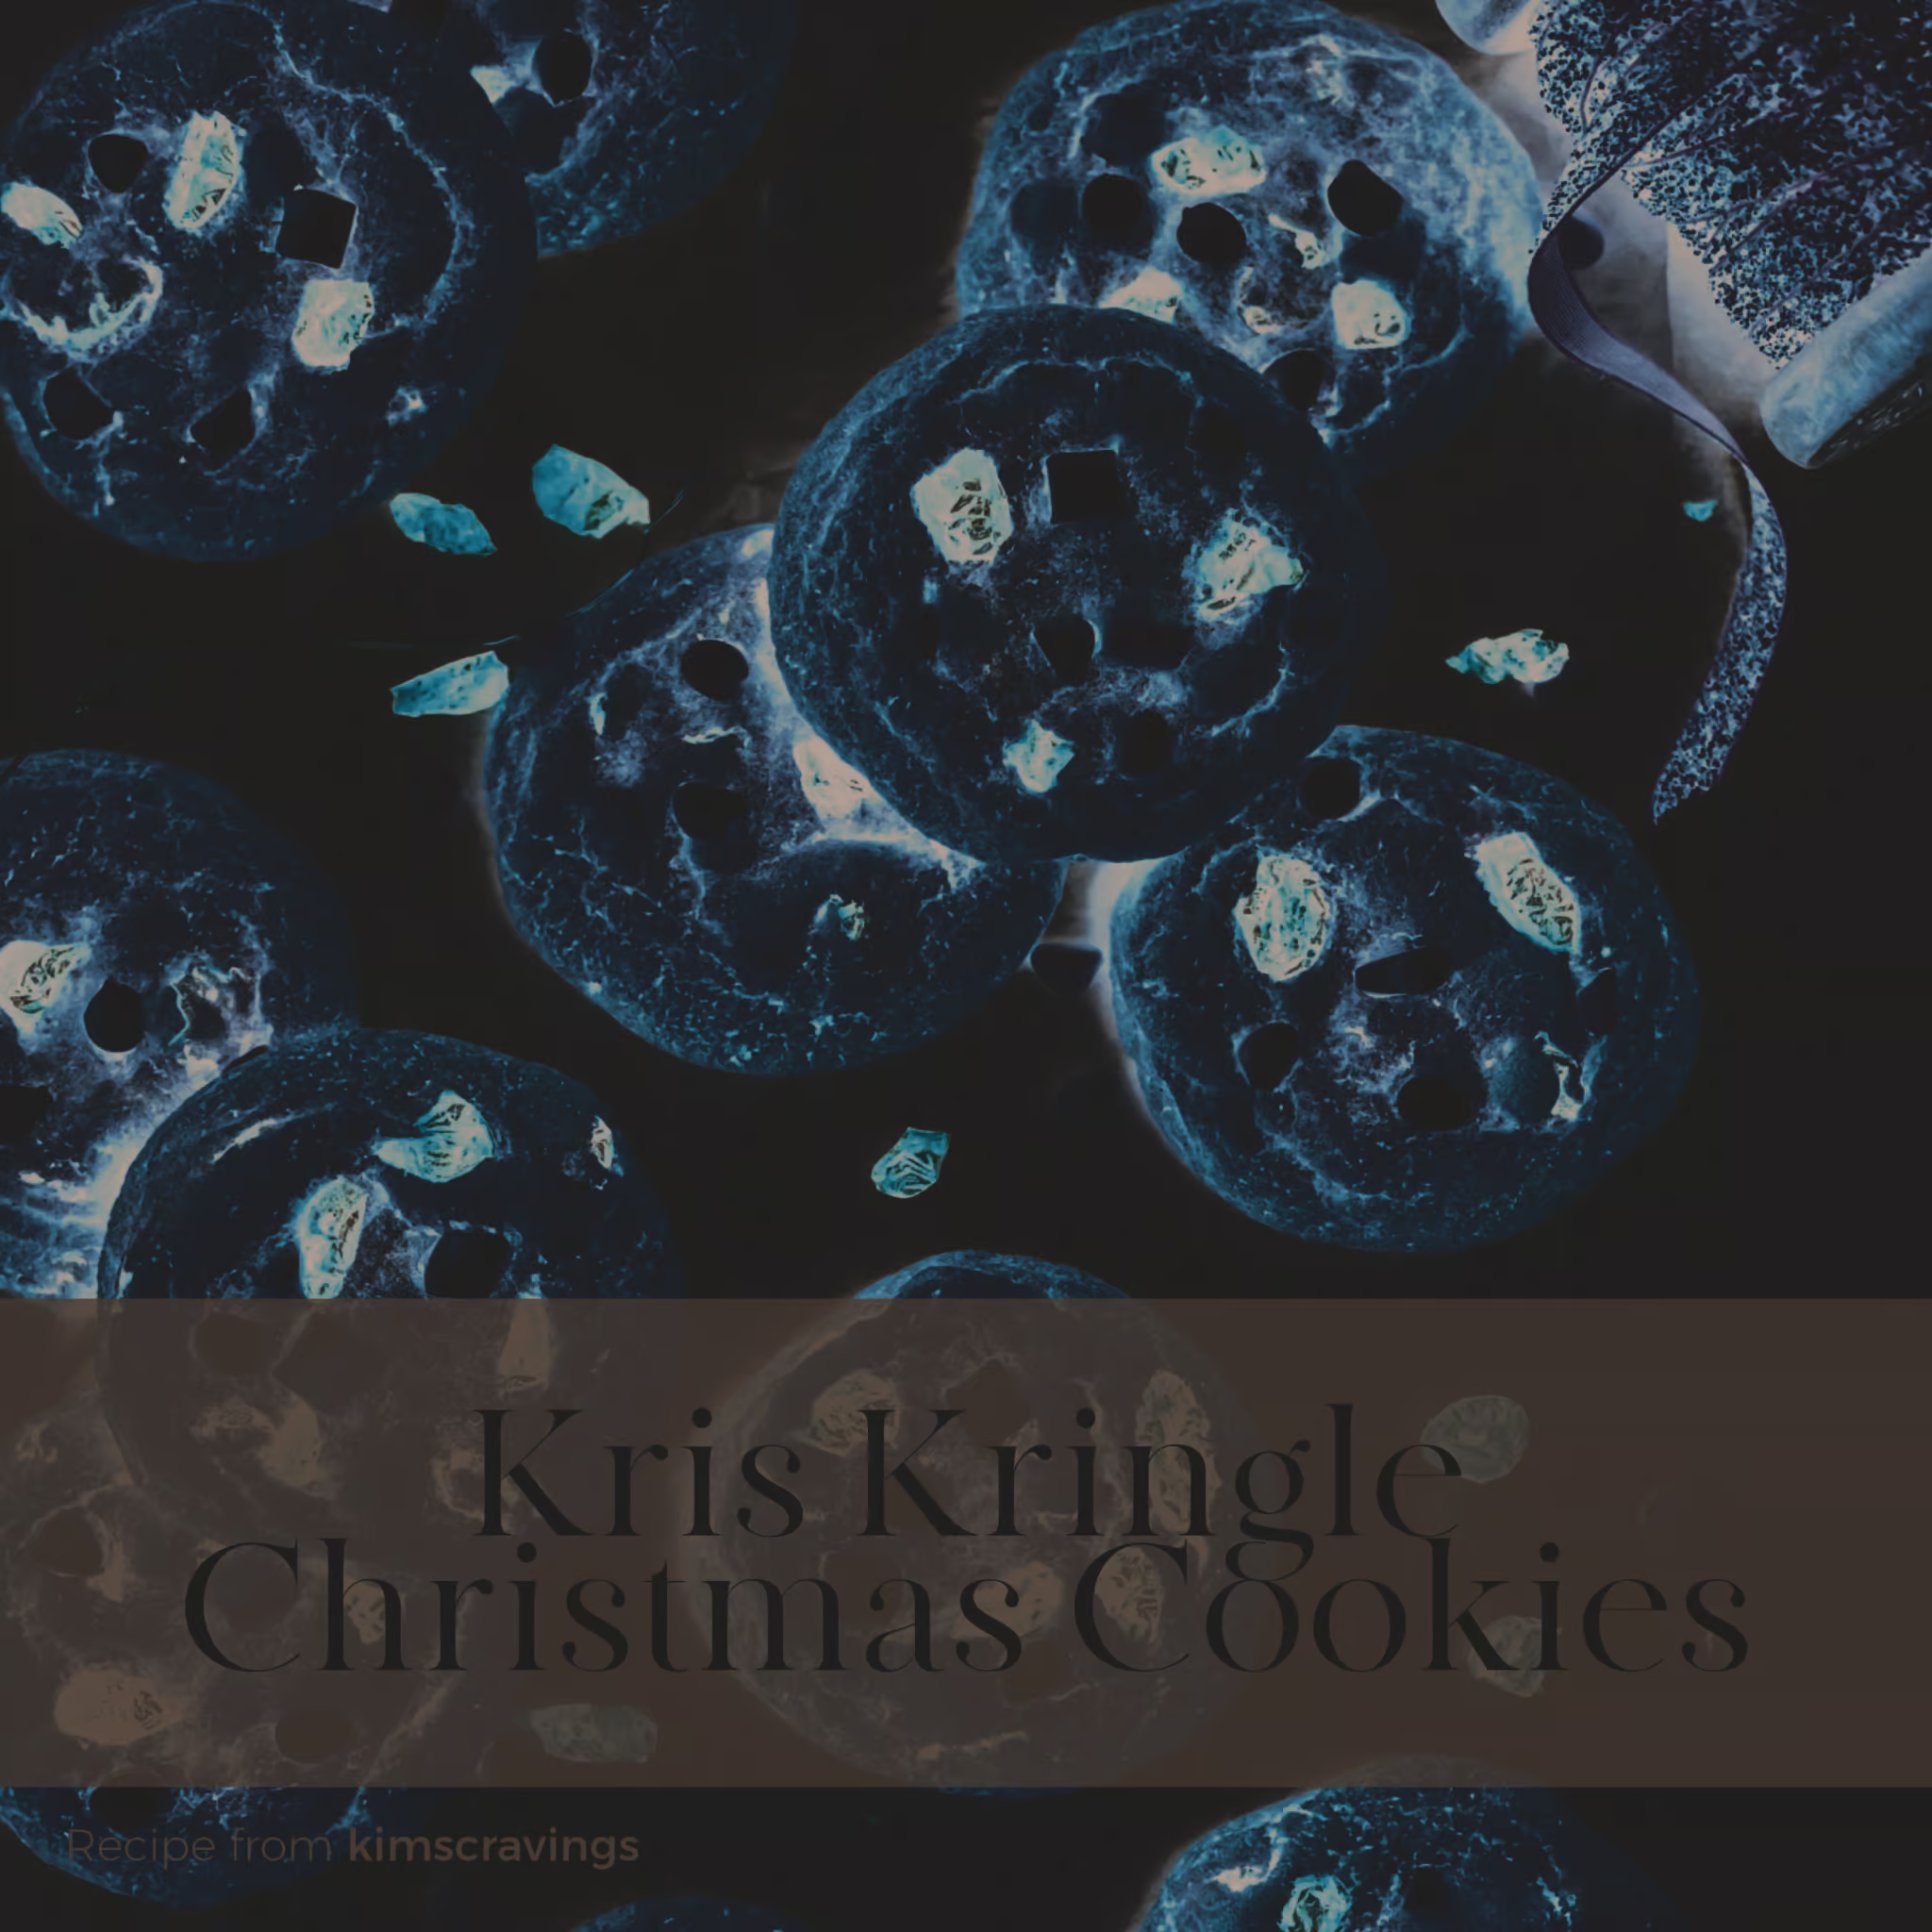
Kris Kringle Christmas Cookies (original recipe here)
Ingredients:
- 3/4 cup butter, room temperature
- 1 cup dark brown sugar (light brown will work)
- 1/4 cup white granulated sugar
- 1 egg
- 1 egg yolk
- 2 teaspoons pure vanilla extract
- 2 cups + 2 tablespoons all purpose flour
- 2 teaspoons cornstarch
- 1 teaspoon baking soda
- ½ teaspoon salt
- 3/4 cup white chocolate morsels + more to add to the tops of the cookies before baking
- 3/4 cup dried cranberries + more to add to the tops of the cookies before baking
Steps:
-
Heat oven to 350 degrees F. Line a large cookie sheet/baking pan with parchment paper or a silicone mat.
-
Beat butter and sugars in large bowl with mixer until light and fluffy.
-
Blend in egg, egg yolk, and vanilla. Scrape down the sides of bowl as needed. Add flour, cornstarch, baking soda and salt; mix well. Stir in white chocolate and cranberries.
-
Drop rounded spoonfuls (about 2 tablespoons) of dough, 1-1/2 inches apart, onto baking sheets. Add a few white chocolate morsels and cranberries to the tops of the cookies for a prettier cookie.
-
Bake for about 9-12 minutes. Cool on baking sheets for about 1 minute and remove to wire racks to cool completely.

Snowman Sugar Cookies (original recipe here)
Ingredients:
- 2 and 1/4 cups (280g) all-purpose flour
- 1/2 teaspoon baking powder
- 1/4 teaspoon salt
- 3/4 cup (1 and 1/2 sticks; 180g) unsalted butter, softened to room temperature
- 3/4 cup (150g) granulated sugar
- 1 large egg, at room temperature
- 2 teaspoons pure vanilla extract
- optional: 1/4 – 1/2 teaspoon almond extract (yields an outstanding flavour!)
Royal Icing
- 4 cups (480g) confectioners’ sugar, sifted
- 3 Tablespoons meringue powder
- 9–10 Tablespoons room temperature water
- black, orange, and red food colouring
Steps:
- Whisk the flour, baking powder, and salt together in a medium bowl. Set aside.
- In a large bowl using a hand mixer or a stand mixer fitted with a paddle attachment, beat the butter and sugar together on high speed until completely smooth and creamy, about 2 minutes. Add the egg, vanilla, and almond extract (if using) and beat on high speed until combined, about 1 minute. Scrape down the sides and up the bottom of the bowl and beat again as needed to combine.
- Add the dry ingredients to the wet ingredients and mix on low until combined. If the dough seems too soft, you can add 1 Tablespoon more flour until it is a better consistency for rolling.
- Divide the dough into 2 equal parts. Roll each portion out onto a piece of parchment paper or a lightly floured silicone baking mat to about 1/4-inch thickness. The rolled-out dough can be any shape, as long as it is evenly 1/4-inch thick.
- Stack the pieces, with parchment paper between the two, onto a baking sheet and refrigerate for at least 1-2 hours and up to 2 days. If chilling for more than a couple hours, cover the top dough piece with a single piece of parchment paper.
- Once chilled, preheat oven to 350°F (177°C). Line 2 large baking sheets with parchment paper or silicone baking mats. Remove one of the dough pieces from the refrigerator and using a snowman cookie cutter, cut into shapes. Re-roll the remaining dough and continue cutting until all is used. Repeat with 2nd dough piece.
- Arrange cookies on baking sheets 3 inches apart. Bake for 11-12 minutes, until lightly browned around the edges. Make sure you rotate the baking sheet halfway through bake time. Allow cookies to cool on the baking sheet for 5 minutes then transfer to a wire rack to cool completely before decorating. Decorate cookies directly on baking sheets so you can stick the entire baking sheet in the refrigerator to help set the icing. So place the cooled cookies back on baking sheets.
- Make the icing: Watch the video of the icing above so you get an idea of what the final consistency should be. In a large bowl using a hand mixer or a stand mixer fitted with a whisk attachment, beat all of the icing ingredients together on high speed for 1.5 – 2 minutes. When lifting the whisk up off the icing, the icing should drizzle down and smooth out within 5-10 seconds. If it’s too thick, add a little more water. If it’s too thin, add a little more sifted confectioners’ sugar.
- You’ll need 3 small bowls: one for red icing, one for black icing, and one for orange icing. Spoon 1/4 cup of icing into each bowl. The rest of the icing will remain white. Stir red food colouring into 1 bowl until you reach your desired shade. Stir black food colouring into another bowl until you reach your desired shade. Finally, stir orange food colouring into the last bowl until you reach your desired shade. Spoon icings into piping bags.
- Decorate: Using round icing tip #5 or round icing tip #4, outline and flood the snowmen with white. (Leave room for the black hat!) Allow to set. Put the baking sheet in the refrigerator to speed it up. Using this same piping tip, pipe the scarf with red icing on top of the white icing. Using round icing tip #1, pipe the hat, eyes, and buttons with black icing. Using this same piping tip, pipe the nose with orange icing. Icing will completely set in about 2 hours at room temperature.
- Enjoy cookies right away or wait until the icing sets to serve them. Once the icing has set, these cookies are great for gifting or for sending. Plain or decorated cookies stay soft for about 5 days when covered tightly at room temperature. For longer storage, cover and refrigerate for up to 10 days.

Gingerbread Cookies (original recipe here)
Ingredients:
-
3/4 cup (1 1/2 sticks) butter, softened3/4 cup packed brown sugar
-
2/3 cup molasses
-
1 large egg
-
1 tsp. pure vanilla extract
-
3 1/4 cup all-purpose flour
-
1 tbsp. ground ginger
-
1 tsp. baking soda
-
1 tsp. ground cinnamon
-
1/2 tsp. ground cloves
-
1/4 tsp. ground nutmeg
-
1/2 tsp. kosher salt
-
2″ piece fresh ginger, grated (optional)
-
Zest of 1 orange (optional)
-
1/2 tsp. finely ground black pepper (optional)
Sugar Cookie Icing, for decorating, Sprinkles, for decorating
Steps:
- In a large bowl using a hand mixer, beat butter, brown sugar, and molasses until fluffy, about 2 minutes. Add egg and vanilla and beat until combined.
- In a medium bowl, whisk flour, spices, baking soda, and salt until combined. With the mixer on low, gradually add dry ingredients to wet ingredients, as well as fresh ginger, orange zest, and black pepper (if using), until dough just comes together. (Do not over-mix!)
- Divide dough in half and create two discs. Wrap each in plastic wrap and chill until firm, about 2 to 3 hours. (Alternatively, divide dough in half and roll each piece of dough between two pieces of parchment to 1/4″ thick. Chill until firm.)
- Preheat oven to 350° and line two large baking sheets with parchment paper. Place one disc of dough on a lightly floured surface and roll until 1/4″ thick. (Alternatively, peel off both sheets of parchment from dough, then replace one sheet of parchment back underneath dough.) Cut out gingerbread men with a 3″ wide cutter and transfer to baking sheets.
- Bake until slightly puffed and set, 9 to 10 minutes, depending on the size of your cookie cutters. Let cool on baking sheets for 5 minutes before transferring to a cooling rack to cool completely.
- Repeat with remaining disc of dough. Decorate with icing and sprinkles as desired.
Peppermint Bark Cookies (original recipe here)
Ingredients:
- 3/4 cup (170g) unsalted butter, softened to room temperature
- 1 cup (200g) granulated sugar
- 1 large egg, at room temperature
- 1 teaspoon pure vanilla extract
- 1 and 1/2 cups (190g) all-purpose flour (spoon & leveled)
- 3/4 cup (63g) unsweetened natural cocoa powder (or dutch process), plus more for rolling
- 1 teaspoon baking powder
- 1/8 teaspoon salt
Coating
- four 4-ounce (450g) white chocolate baking bars, finely chopped
- 1 teaspoon vegetable oil, solid coconut oil, or canola oil
- 3/4 teaspoon peppermint extract
- 1/2 cup crushed candy canes (about 5 candy canes)
Steps:
- In a large bowl using a hand-held mixer or stand mixer fitted with a paddle attachment, beat the butter and granulated sugar together on medium speed until completely smooth and creamy, about 2 minutes. Beat in the egg and vanilla extract on high speed. Scrape down the sides and up the bottom of the bowl and beat again as needed to combine.
- Whisk the flour, cocoa powder, baking powder, and salt together in a medium bowl. On low speed, slowly mix into the wet ingredients until combined.
- Divide the dough into 2 equal parts. Dust your rolling pin, cookie dough, and work surface with cocoa powder. Roll each portion out to about 1/4″ thickness on a piece of parchment paper or silicone baking mat. Stack the pieces (with parchment paper between) onto a baking sheet and refrigerate for at least 1 hour. Chilling is mandatory so the cookies hold their shape. If chilling for more than a couple hours, cover the top dough piece with a single piece of parchment paper. You can chill up to 2 days.
- Once chilled, preheat oven to 350°F (177°C). Line 2-3 large baking sheets with parchment paper or silicone baking mats. Remove one of the dough pieces from the refrigerator and using a 2.5 inch circle cookie cutter, cut in shapes. Transfer the cut cookie dough to the prepared baking sheets. Re-roll the remaining dough and continue cutting until all is used.
- Bake for 10 minutes. The cookies will still appear soft in the centers. Cool cookies on a baking sheet for 5 minutes, then transfer to a wire rack to cool completely before coating.
- For the coating: Line 2 baking sheets with parchment paper or silicone baking mats. Melt the chopped white chocolate and oil together in a double boiler or in the microwave in 15-second increments, stopping and stirring after each until completely smooth. Add another drop of oil to thin out if needed. After melting, stir in 1/2 teaspoon of peppermint extract. Taste. Add 1/4 teaspoon more if desired. (Use 3/4 teaspoon because when the white chocolate sets, the peppermint flavour won’t be as strong.) Drop 1 cookie into white chocolate. Using a 2 or 3 pronged candy dipping tool, flip the cookie over to coat all sides. Lift the cookie up out of the chocolate and gently tap the dipping tool against the side of the bowl so excess white chocolate drips off. Slide coated cookie off the dipping tool onto prepared lined baking sheet. Sprinkle with crushed candy canes. Repeat with remaining cookies.
- Allow chocolate to set completely in the refrigerator for 45 minutes or at room temperature for 90 minutes.
- Coated cookies stay fresh covered at room temperature for 3 days or in the refrigerator for up to 10 days.

Santa’s Whiskers Cookies (original recipe here)
Ingredients:
- 3/4 cup (170g) unsalted butter, softened to room temperature
- 2/3 cup (133g) granulated sugar
- 1 large egg, at room temperature
- 1 teaspoon pure vanilla extract
- 1/2 teaspoon almond extract
- 2 cups (250g) all-purpose flour (spoon & leveled)
- 1/4 teaspoon salt
- 3/4 cup (63g) finely chopped maraschino cherries (you can use a mix of green and red)*
- 1 cup (80g) sweetened shredded coconut, for rolling
- optional: one 4-ounce white chocolate baking bar and extra coconut for topping
Steps:
- In a large bowl using a hand-held mixer or stand mixer fitted with a paddle attachment, beat the butter and granulated sugar together on medium-high speed until combined and creamy, about 2 minutes. Beat in the egg, vanilla extract, and almond extract on high speed. Scrape down the sides and bottom of the bowl as needed, and continue to beat until fully combined. On low speed, beat in the flour and salt until combined. The cookie dough will be thick and slightly sticky. Switch to low speed and beat in the cherries *just* until combined. Too much beating will turn the cookie dough pink. (Which isn’t necessarily a bad thing!)
- Turn the dough out onto a floured work surface and, with floured hands, divide or cut into two. Shape each half into an 8-inch log, about 2.5 inches in diameter. The measurements don’t have to be exact. Roll each log in the shredded coconut. Tightly wrap the logs in plastic wrap and chill in the refrigerator for at least 3 hours and up to 5 days. Chilling is mandatory for this cookie dough. The colder the dough, the thicker the cookies.
- Preheat oven to 350°F (177°C). Line two large baking sheets with parchment paper or silicone baking mats. (Always recommended for cookies.) Set aside.
- Slice each log into 12 equally thick cookies and place cookies on baking sheets about 2 inches apart.
- Bake the cookies for 13-14 minutes or until brown around the edges. Remove from the oven and allow cookies to cool on the baking sheet for 5 minutes before transferring to a wire rack to cool completely.
- If desired, drizzle the cooled cookies with white chocolate. Melt the chopped white chocolate in a double boiler or in the microwave in 15-second increments, stopping and stirring after each until completely smooth. Drizzle on the cookies. Sprinkle with extra coconut, if desired. Allow chocolate to set completely in the refrigerator for 20 minutes or at room temperature for 30 minutes.
- Cookies without chocolate will stay fresh covered at room temperature for 1 week. Cookies with chocolate will stay fresh covered at room temperature for 3 days or in the refrigerator for 1 week.

Iced Oatmeal Cookies (original recipe here)
Ingredients:
- 2 cups (160g) old-fashioned whole rolled oats
- 2 cups (250g) all-purpose flour (spoon & leveled)
- 1 teaspoon baking soda
- 1 teaspoon salt
- 1 and 1/2 teaspoons ground cinnamon
- 1/2 teaspoon ground nutmeg
- 1 cup (2 sticks; 230g) unsalted butter, softened to room temperature
- 1 cup (200g) packed light or dark brown sugar
- ½ cup (100g) granulated sugar
- 2 large eggs, at room temperature
- 1 Tablespoon unsulphured or dark molasses*
- 2 teaspoons pure vanilla extract
Icing
- 1 and 1/2 cups (180g) sifted confectioners’ sugar*
- 1/4 teaspoon pure vanilla extract
- 1.5 – 2 Tablespoons milk
Steps:
- Make the cookies: Pulse the oats in a food processor 10-12 times until you have a variety of texture– chopped oats with some oat flour. See photo above for a visual.
- Whisk the pulsed oats, flour, baking soda, salt, cinnamon, and nutmeg together in a medium bowl. Set aside.
- In a large bowl using a hand mixer or a stand mixer fitted with a paddle attachment, beat the butter, brown sugar, and granulated sugar together on medium-high speed until creamed, about 2 minutes. Add the eggs, molasses, and vanilla extract and beat on high speed until combined, about 1 minute. Scrape down the sides and up the bottom of the bowl and beat again as needed to combine.
- Add the dry ingredients to the wet ingredients and mix on low until combined. Dough will be thick and sticky. Cover and chill the dough for at least 45 minutes in the refrigerator (and up to 4 days). If chilling for longer than a few hours, allow to sit at room temperature for at least 30 minutes before scooping and baking because the dough will be quite hard.
- Preheat oven to 350°F (177°C). Line baking sheets with parchment paper or silicone baking mats. Set aside.
- Scoop cookie dough, about 1.5 Tablespoons of dough per cookie, and place 3 inches apart on the baking sheets. Bake for 11-12 minutes or until lightly browned on the sides. The centers will look very soft.
- Remove from the oven and allow cookies to cool on the baking sheet for 5 minutes before transferring to a wire rack to cool completely before icing.
- Make the icing: Place sifted confectioners’ sugar in a medium bowl. Add the vanilla extract and 1 Tablespoon of milk. Use a fork to whisk until combined. It will be impossible to fully combine because this isn’t enough liquid. Add only enough extra milk to make a very very thick icing. You want a very thick icing. Lightly dip the tops of the cookies into the icing. Icing will set after a few hours, so you can stack and gift the cookies.
- Cookies stay fresh covered at room temperature for 3 days or in the refrigerator for up to 10 days.

Chocolate Swirled Meringue Cookies (original recipe here)
Ingredients:
- 2 ounces (55g) semi-sweet chocolate, finely chopped
- 3 large egg whites (120g), at room temperature (see note)*
- 1/4 teaspoon cream of tartar
- 1/8 teaspoon salt
- 2/3 cup (130g) granulated sugar
- optional: sprinkles
Steps:
- Preheat oven to 250°F (121°C). Line two large baking sheets with parchment paper or silicone baking mats. Set aside.
- Melt the chocolate first so it can cool down before folding into the batter. You can melt the chocolate in a double boiler or the microwave. If using the microwave: place the chopped chocolate in a medium heat-proof bowl. Melt in 20 second increments, stirring after each increment until completely melted and smooth. Set aside.
- In a completely clean residue-free large glass or metal mixing bowl, using a handheld mixer or stand mixer fitted with a whisk attachment, beat the egg whites, cream of tartar, and salt together on high speed until soft peaks form, about 2 minutes. With the mixer running on high speed, slowly add the sugar and beat until stiff glossy peaks form, about 2 more minutes. Do not over-beat.
- Gently fold in the chocolate. To maintain swirls, you don’t want to completely mix it in. Don’t worry if you don’t use all 2 ounces– you can add some to the piping bag in the next step.
- Add an open star piping tip (Wilton 1M) to your piping bag. Drizzle any leftover chocolate along the inside of your piping bag (this is optional). Add the meringue batter. It won’t all fit, so only use half to start.
- Pipe 1.5 inch swirls until you use up all the batter. See the video tutorial above if you need a visual. The cookies don’t spread, so you can pipe them just 1-2 inches apart. Top each with sprinkles, if desired.
- Bake for 1 and 1/2 hours. (You can bake both baking sheets at once.) Do not open the oven as the meringues bake. Turn off the oven after 1.5 hours and let the meringues sit inside as the oven cools for 30 minutes or until the oven has cooled completely.
- Remove meringues from the oven and cool completely on the baking sheets. Once cool, use a flat spatula to remove the meringues from the baking sheets.
- Cover and store meringues at room temperature for up to 2 weeks.

White Chocolate Chip Cherry Oatmeal Cookies (original recipe here)
Ingredients:
- 1 cup (230g) unsalted butter, softened to room temperature
- 1 cup (200g) packed light or dark brown sugar
- 1/4 cup (50g) granulated sugar
- 2 large eggs
- 1 Tablespoon pure vanilla extract (yes, Tablespoon!)
- 1 Tablespoon molasses
- 1 and 1/2 cups (190g) all-purpose flour (spoon & leveled)
- 1 teaspoon baking soda
- 1/2 teaspoon salt
- 1 and 1/2 teaspoons ground cinnamon
- 1/4 teaspoon ground nutmeg
- 3 cups (240g) old-fashioned whole rolled oats*
- 1 cup (140g) dried cherries
- 1 cup (180g) white chocolate chips
- optional for drizzle: one 4-ounce quality white chocolate bar (113g), finely chopped*
Steps:
- Using a hand mixer or a stand mixer fitted with paddle attachment, cream the softened butter and both sugars together on medium speed until smooth, about 2 minutes. Add the eggs and mix on high until combined, about 1 minute. Scrape down the sides and bottom of the bowl as needed. Add the vanilla and molasses and mix on high until combined. Set aside.
- In a separate bowl, whisk the flour, baking soda, salt, cinnamon, and nutmeg together. Add to the wet ingredients and mix on low until combined. Beat in the oats, dried cherries, and white chocolate chips on low speed. Dough will be thick, yet very sticky. Chill the dough for 30-60 minutes in the refrigerator. If chilling for longer (up to 2 days), allow dough to sit at room temperature for at least 30 minutes before scooping and baking.
- Preheat oven to 350°F (177°C). Line two large baking sheets with parchment paper or silicone baking mats. Set aside.
- Roll balls of dough (about 2 tablespoons of dough per cookie) and place 2 inches apart on the baking sheets. It’s recommended to use a cookie scoop since the dough can be sticky. Bake for 12-14 minutes until lightly browned on the sides. The centers will look very soft and under-baked. Remove from the oven and let cool on baking sheet for 5 minutes before transferring to a wire rack to cool completely. The cookies will continue to “set” on the baking sheet during this time.
- Optional White Chocolate Drizzle: You can melt the white chocolate in a double boiler or the microwave. If using the microwave: place the chopped white chocolate in a medium heat-proof bowl. Melt in 20 second increments in the microwave, stirring after each increment until completely melted and smooth. Drizzle lightly over cookies. Allow the white chocolate to set completely at room temperature for about 30 minutes or in the refrigerator for 15 minutes.
- Cover and store leftover cookies (with white chocolate drizzle or without) at room temperature for up to 1 week.
Happy Baking everyone, and Merry Christmas!

Get Our Newsletter
Sign-up to receive our latest listings, local real estate market insights, advice, and upcoming team events, right in your inbox.